FLY TYING
Materials and tools for fly tying
Fly tying
In recent years fly tying materials for artificial flies have multiplied out of all proportion. If we imagine that no more than 50 years ago the choice fell on a handful of feathers, the market now offers an almost infinite number of products.
Unravelling this maze of hair and synthetic fibres is not easy for a beginner and that is why we have created the fly tying kits. Inside you'll find everything you need to start tying your own artificial flies, without getting lost in the myriad of materials on the market.

On our Youtube channel you will also find a series of fly tying tutorial like the one we propose below, which explain step by step how to tie an artificial fly. We publish a new video almost every week!
Not all fly fishermen tie their own imitations, in fact there are many different models of dry fly, wet fly, nymphs and streamers available on the market ready to take out fishing. That said, you have to admit that catching a fish with a self-tied artificial fly is certainly more exciting. Even if at first they will look like a pile of hair tied in bulk I can guarantee you that when you manage to fool the first fish with your imitations it will be a unique emotion.
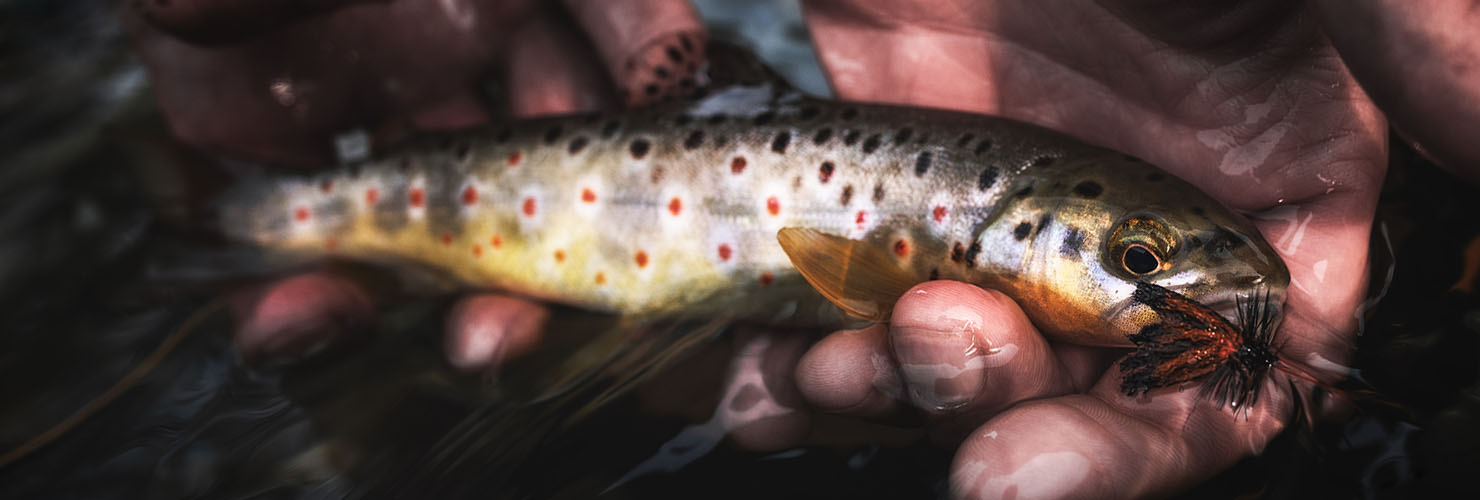
BELOW YOU WILL FIND A MINI GUIDE TO HELP YOU TAKE YOUR FIRST STEPS BETWEEN TOOLS AND FLY TYING MATERIALS.
1) FLY TYING TOOLS:
The fly tying tools on which we do not think you have to compromise are:
- Vise
- Bobbin
- Scissors
It is very important that these 3 tools are of excellent quality, because they are the fundamental starting point from which all artificial flies are born. In our online fly fishing shop we have paid special attention to these tools, choosing only the best on the market but at the same time they have an honest and reasonable price.
1.1) Vise:
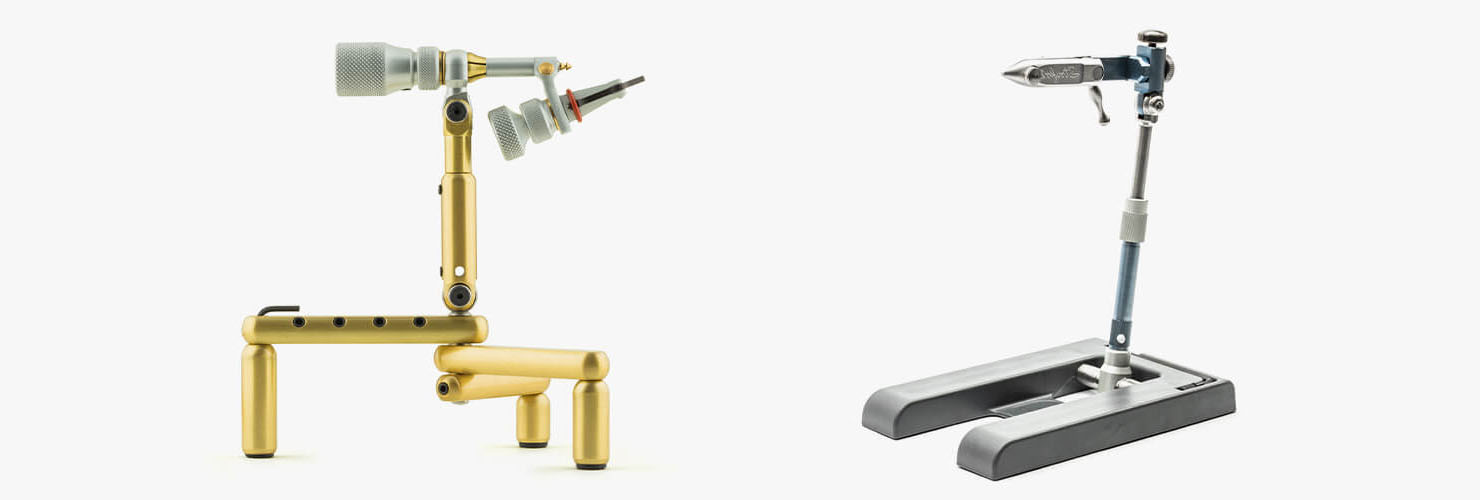
The vise to tying artificial flies must be stable and have a good grip on the hook. Here you can find Cottarelli, which in our opinion are the best vises on the market with an unrivalled quality/price ratio. We also have the complete Stonfo line, in which you can find the vise that best suits your needs, from the simplest and cheapest to the most professional.
1.2) Scissors:
It seems trivial to say it but scissors have to cut, not an easy operation with some materials. A good scissor has a very thin tip to be able to cut with precision and at the first blow any fly tying material. There is nothing more annoying than a scissor that doesn't do its job. The steel must be of very good quality and the sharpening must last over time. On our website we have decided not to keep low quality scissors just to get products at an advantageous price, so whatever your choice will be, you can't go wrong.

1.3) Bobbin:
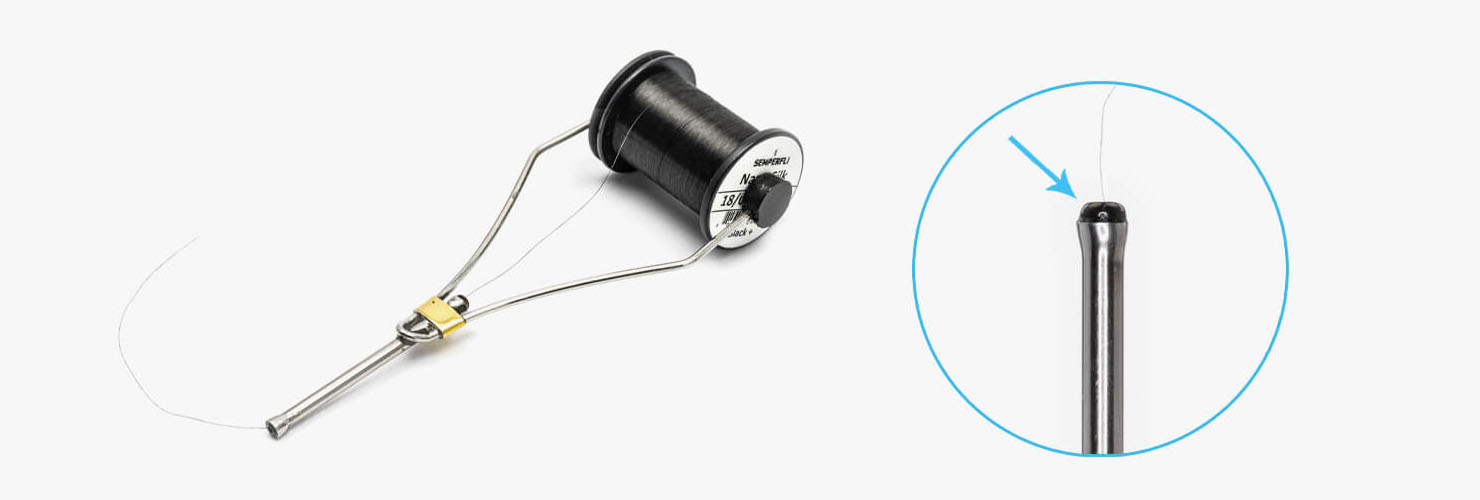
There are many bobbins of many shapes and colours, all more or less valid. The only thing you have to pay attention to is the thread outlet hole, which must be perfectly smooth, better if it is ceramic (SEE PHOTO). A poor quality bobbin could cut the tying thread during the tying of your artificial fly, making all the work go to waste. There are also bobbins equipped with a clutch to adjust the thread spill. These are products that have a specific use and we advise against buying them if you are a novice and want to start tying your first artificial flies.
Everything else is not fundamental, but it certainly makes it much easier to work with certain fly tying materials. Even some fly tying techniques are difficult if not impossible to perform without some extra tools but there is no hurry. Proceed step by step and don't get overwhelmed by enthusiasm.
2) FLY TYING MATERIAL:
On fly tying material for artificial flies you could write an encyclopedia and I don't think it would be enough. Here the essential materials are basically two:
- Fly fishing hook
- Tying thread
2.1) Fly fishing hook:
There are many different types of fly fishing hooks, each with specific functions. Surely the first choice to make is between a barbed hook (FIG.1) and a barbless hook (FIG.2). If you practice catch & release you will need to orient yourself on a barbless hook, which is less invasive and allows for correct release. If you decide instead to retain the fish or fish where catch & release is prohibited, as in some parts of Europe, you can opt for a barbed hook.
Here too the choice is not easy because there are many different types of fly fish hooks, each with specific functions. If you don't have clear ideas, it's easy to get lost. To start tying your first artificial flies, we recommend a few hooks:
Dry Flies: DRY V3 or GRUB BUZZER
Nymphs: JIG WIDE GAPE V2 or SHRIMP X-STRONG
Universal Hooks: UNIVERSAL or DRY NIMPH
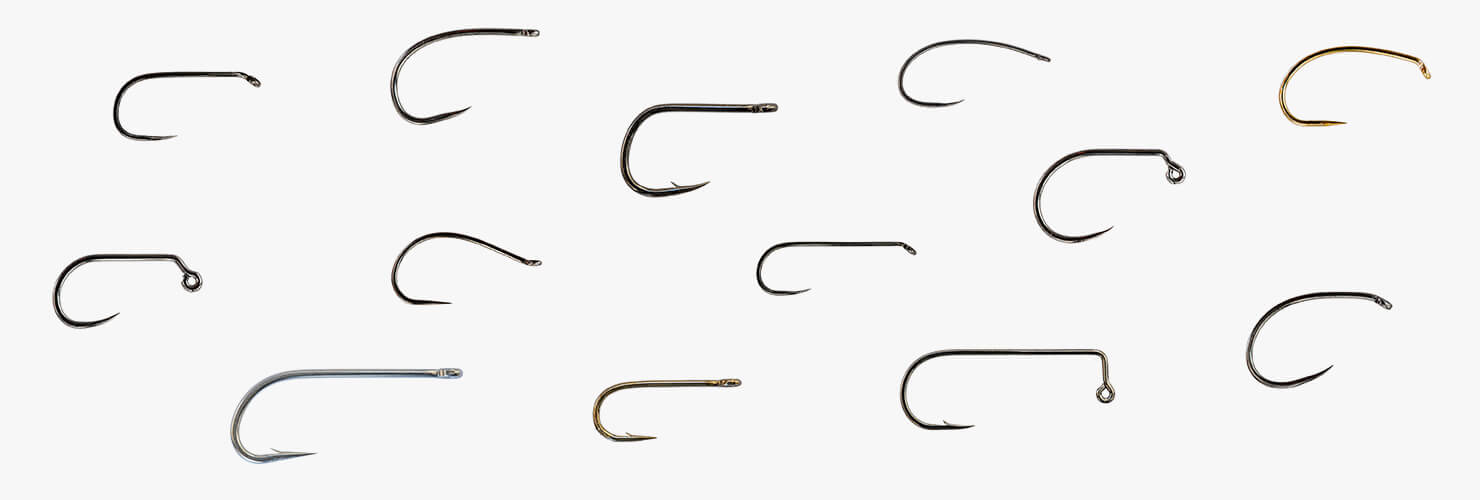
The general aspects that make a hook a good hook are basically 3: chemically sharpened point, inward facing point and forging.
The chemically sharpened point is extremely sharp, moreover having the hook point slightly inwards (FIG.3) protects it from contact with the rocks at the bottom and reduces the possibility of losing the fish during combat. Finally the forging (FIG.4), which consists of a flattening of the hook profile. This process significantly increases its tensile strength.

A dry fly hook will need to be thin and light to facilitate flotation, while a nymph hook may be heavier and stronger. In nymph hooks there are jig which, with their particular angle of the eye (FIG. 5) always work with the point facing upwards to minimise the possibility of stranding. The jig hooks must be combined with the special slotted tungsten beads. (FIG. 6).

2.2) Tying Thread:
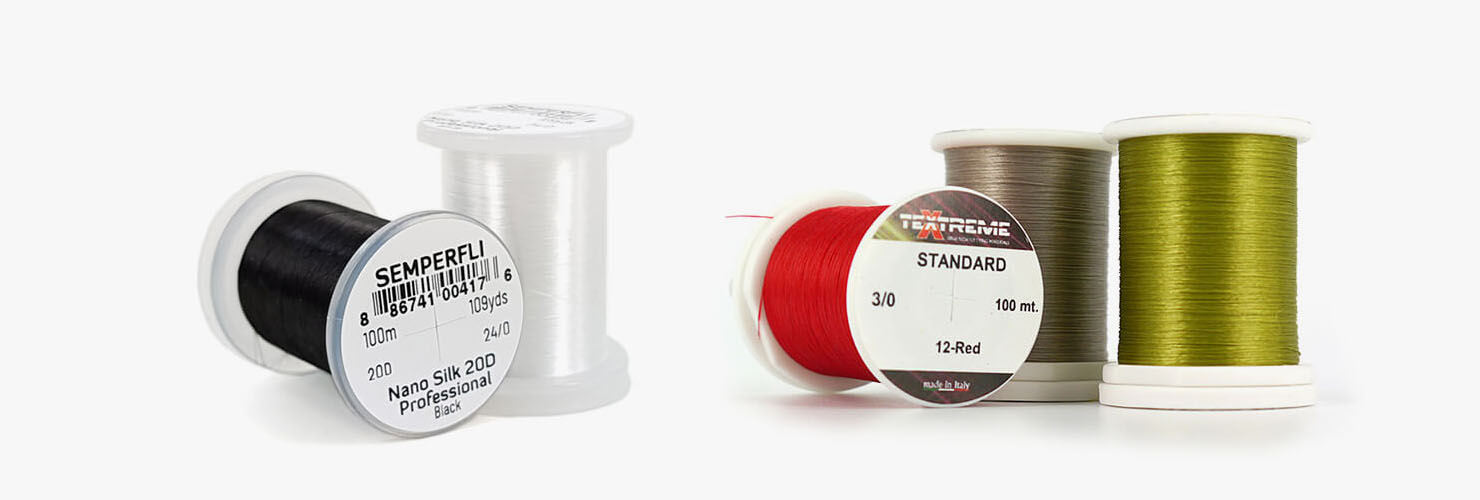
The thread must also be of excellent quality, you can't risk it breaking in the middle of the tying. Here you will find the tying thread from Textreme and Semperfli, the best companies in the production of this material. The colour of the tying thread should match the colour of the fly, while the thickness should be chosen according to the size of the artificial you want to tie. The thickness of the tying thread is indicated by two numbers divided by a slash (e.g. 3/0) and indicatively mean:
- 3/0 Thick
- 6/0 Medium
- 8/0 Fine
- 18/0 Extremely Fine
- 24/0 World's thinnest tying thread
The 18/0 and 24/0 sizes are innovative threads made by Semperfli. Their breaking strength is surprising when compared to their thickness. As well as allowing you to tie very small artificial flies, these thread leave you with a much higher margin of error. In fact, when you're just starting out, it happens that you wrap the thread more than necessary to fix the fly tying materials. Having a very thin thread will not create additional thickness to your imitation, risking deforming the silhouette.
If we go into the specifics of each product we don't come out of it alive, but we can give you some general indications. Below we show you some of the main fly tying materials to tie artificial flies. Already with this handful of products you can tie many different types of dressing:
- Tungsten ballast
- Pheasant tail feather
- Cul de canard CDC
- Tinsel
- Dubbing
Surely before you start you have to decide whether you want to tie a dry fly or a nymph. If you want to tie a dry fly you have to use specific materials that make your imitation as floaty as possible. If you want to tie a nymph you have to use tungsten ballast that will make it sink.
2.3) Tungsten ballast:
Already with tungsten alone there is a variety of choices that will give you a headache (and they are not all) but don't worry, to start you just need the tungsten beads A and G (SEE PHOTO). You can do without the other models for the moment, you will get to know them in time. The A beads is used on standard hooks while the G beads, as we saw before, is combined with jig hooks.
- A) Standard tungsten beads
- B) Tungsten Eyes (streamer)
- C) Body plus bead
- D) Conehead (streamer)
- E) Tungsten body Javi
- F) Tungsten beads Jig off
- G) Slotted Tungsten beads

2.4) Pheasant Tail Feather:
Surely the pheasant Tail Feather is one of the most used and versatile natural fly tying materials that exists. You can use it to make tails, bodies, wing casings and legs.This product should never be missing on your work table and is very well suited for tying both dry flies, wet flies and nymphs.

2.5) Cul de Canard:
Another fly tying material that is used as much as pheasant if not more is cul de canard (CDC). These feathers are also extremely versatile and you can use them to imitate tails, bodies, thorax, wings and extended bodies. You can use it both to tie dry flies and to tie nymphs and wet flies. Of course, its extraordinary floating properties make it particularly suitable to tie dry flies.
Here you can find our FULL CDC GUIDE with features and fly tying techniques.
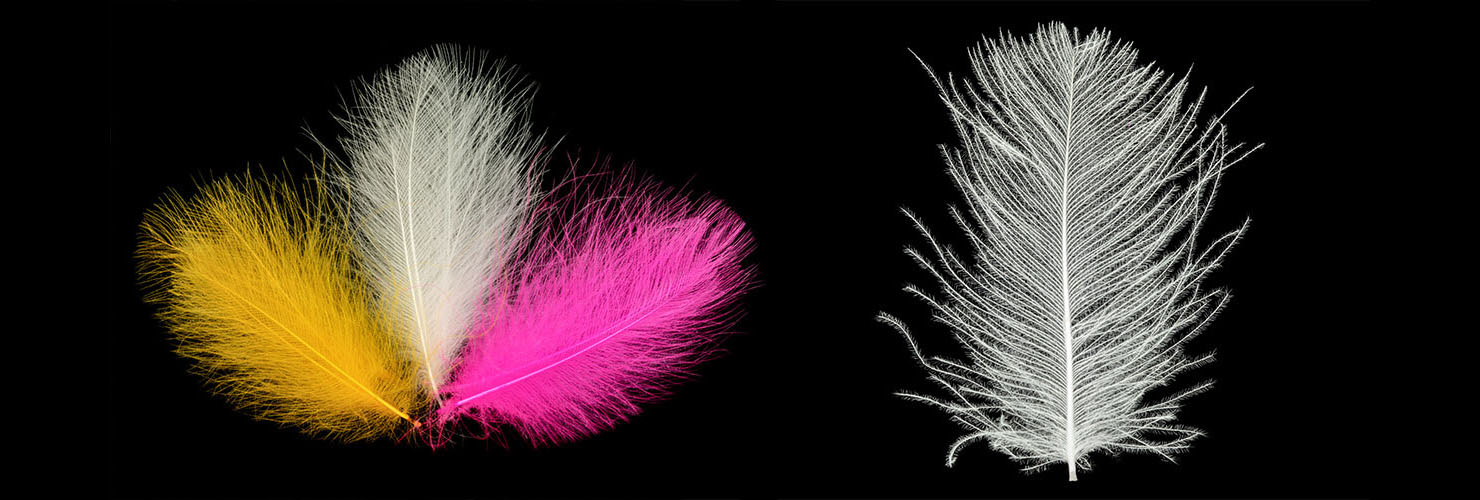
Here is the Arpo, a dry fly made only with a single feather of cul de canard:
2.6) Tinsel:
Tinsels are used for body ribbing and thus imitate the abdominal segments of the insect. On the market you can find a lot of them, but to start you can rely on the classic and always valid copper wire. Remember to use the thinnest size if you apply it to dry flies to avoid adding weight, otherwise you can choose a much lighter synthetic tinsel. When you use the pheasant tail feather to tie the bodies of your artificial flies, the tinsel wrapped over the fibres of the pheasant increases their resistance.

2.7) Dubbing:
In the end dubbing, which certainly plays an important role in the panorama of fly tiyng materials and can be found on most of the artificial flies you see around. Mainly used to tie bodies and thoraxes you can find it on the market both natural and synthetic, or a mix between the two. Natural dubbing is certainly more discreet and is preferred with very suspicious fish. Synthetic dubbing, on the other hand, is much more visible, reflects light and emits a very enticing glow and glitter. You can attach it to the tying thread using the appropriate dubbing waxes, as shown in the video below.

Now you have no more excuses, all you have to do is get on the vise and start tying!

